1. The Stewardship of Style: Why Care Matters
A Hermès handbag is an anomaly in the fashion world. While most luxury goods depreciate the moment they leave the boutique, a Birkin or Kelly often appreciates. This is due to the brand's uncompromising dedication to craftsmanship and the scarcity of their products. However, this value is entirely dependent on condition.
The secondary market punishes neglect. A "well-loved" Birkin with darkened handles, corner scuffs, and a slouchy structure can lose 40-60% of its potential resale value compared to a pristine "Grade 1" or "Like New" example. But beyond the financial aspect, these bags are built to last lifetimes. They are heirlooms. Caring for them is not a chore; it is an act of respect for the artisan who spent 18-24 hours hand-stitching your bag.
2. The Hermès Leather Library: The DNA of Luxury
To the untrained eye, leather is leather. To the Hermès collector, the specific skin determines not just the look, but the entire lifestyle of the bag. Hermès has utilized over 80 distinct leathers throughout its history, each with unique fat-liquoring processes, grain structures, and aging capabilities. Understanding your bag's specific DNA is the critical first step in preservation. Treating a porous, vegetable-tanned Barenia with the same products as a polymer-coated Epsom will result in irreversible damage.
Here is an encyclopedic breakdown of the most common (and rare) skins you will encounter, and the specific "medical" care each requires.
2.1 Togo (Veau Togo)
The Icon. Introduced in 1997, Togo is the quintessential Birkin leather. It is made from baby calfskin, which gives it a fine, irregular pebbled grain that feels raised to the touch. It is famous for its "veining""”the visible vertical lines that run through the grain, adding character.
Behavior & Care: Togo is the workhorse. It is resistant to scratches because the texture
hides them. However, it is heavy. Over time, a Togo Birkin 35 will "slouch" or melt into itself if not
stuffed properly.
Cleaning Protocol: Togo loves a dry brush. The deep crevices of the pebbles trap
microscopic dust. If this dust gets wet (humidity), it turns to mud. Use a stiff horsehair brush weekly.
Avoid heavy creams, as they will get stuck in the grain and turn white.
2.2 Clemence (Taurillon Clemence)
The Slouch King. Often confused with Togo, Clemence is made from baby bull (Taurillon). The grain is flatter, wider, and more "matte" than Togo. It feels heavier and softer, almost like a thick velvet.
Behavior & Care: Clemence has zero structure. It serves the "relaxed" look. Its biggest
enemy is water blisters. If rain hits Clemence, the leather absorbs it instantly and
bubbles up.
Cleaning Protocol: Never use water on Clemence unless absolutely necessary. If you must,
use a "dry foam" technique where you only use the suds, not the liquid. Support the bag constantly while
cleaning; if you pull on the leather while it's damp, you will permanently stretch the fibers.
2.3 Epsom (Veau Epsom)
The Armor. Epsom is an embossed leather. This means the grain is not natural; it is heat-pressed into the skin. This creates a rigorous, rigid structure that holds its shape for decades.
Behavior & Care: It is lightweight and shows color more vibrantly than any other leather
(except Swift). However, it is brittle. The color sits on top of the leather. If you scratch
Epsom, you are scratching off the paint. You cannot "buff" a scratch out of Epsom; you have to repaint
it.
Cleaning Protocol: Epsom is the easiest to clean. You can use a slightly damp cloth with
mild cleaner. The dirt sits on the surface. Warning: Watch the corners. Epsom corners turn white (color
loss) very fast due to friction. Do not scrub the corners.
2.4 Swift (Veau Swift)
The Sponge. Formerly known as Gulliver, Swift has a micro-grain that looks almost smooth. It is semi-matte and absorbs dye deep into the fiber, making it the best leather for bright colors (like Rose Tyrien or Bamboo).
Behavior & Care: It scratches if you look at it wrong. However, it is "self-healing."
The oils in the leather are mobile. If you get a light scratch, rubbing it gently with your finger can
make it disappear.
Cleaning Protocol: Swift behaves like a sponge. Do not use colored cleaners. Use only
white, pH-neutral foams. Apply conditioner sparingly, as Swift can get "sticky" if overfed.
2.5 Box Calf (Veau Box)
The Heritage. The oldest leather in the Hermès archive. It is smooth, rigid, and has a high-gloss finish. It is the leather of vintage Kellys. It develops a "patina" (a mirror-like shine) over decades of use.
Behavior & Care: Box Calf hates water. One drop will leave a permanent blister. However,
it loves friction. The more you buff it, the shinier it gets.
Cleaning Protocol: Put away the cleaners. Get a clean chamois cloth. Buff the bag for 20
minutes. The friction heats the natural waxes, removing scratches and restoring the glow. This is the
only leather that gets better with neglect (of water) and attention (of buffing).
2.6 Barenia (Veau Barenia)
The Magic. Originally used for saddles. It is double-tanned in chrome and vegetable dyes, then soaked in a bath of specific oils for 5-6 weeks. It has a distinctive smell.
Behavior & Care: Barenia scratches white. But, like magic, you can rub the scratch with
your thumb, and the oils move to fill the gap, restoring the color. It also develops a dark, rich patina
on the handles. Barenia is water-resistant.
Cleaning Protocol: Do not clean Barenia. Let it live. If it gets dry, a tiny amount of
Saphir Renovateur Nappa will wake it up. Do not try to remove the patina; that is the soul of the bag.
3. The Essential Toolkit: A Scientific Approach
Because of the value of these bags, we use only the "Gold Standard" of leather care. Do not experiment with household hacks. The chemistry matters: Hermès leather is acidic (pH 4.5-5.5). Using an alkaline cleaner (like baking soda or standard soap, which is pH 9-10) acts as a chemical peel, breaking down the collagen bonds that keep the leather supple.
- Saphir Médaille d'Or Renovateur (Nappa): This is the holy grail. It uses mink oil and lanolin. It is water-based, not solvent-based, meaning it hydrates without stripping color. Essential for smooth leathers like Box and Swift.
- Collonil 1909 Supreme Creme de Luxe: Best for grained leathers like Togo and Epsom. It contains Cedar oil and finishes "dry," meaning it won't leave a sticky residue in the pebble grain.
- Chamoise Cloths (x3): You need genuine chamois or high-pile cotton flannel. Microfiber is okay for hardware, but can be too "grippy" for delicate Swift leather.
- Distilled Water: Tap water contains chlorine and minerals (calcium/magnesium) that leave white "rings" on leather. Always use distilled.
4. The Pre-Cleaning Ritual: The Inspection
Preparation is 80% of the work. Before a single drop of product touches your bag, you must stabilize the patient.
4.1 The Structural Stuffing
Hermès bags are designed to be cleaned while standing up. If you clean a slouchy bag while it is flat,
you will clean "cracks" into the leather.
The Protocol: Stuff the bag firmly with a custom pillow (like Bag-a-Vie) or
acid-free tissue paper. It should be full enough to push out the corner creases but not so full that it
stretches the zipper or straps. The bag should look like it is standing at attention.
4.2 The Hardware Shield
Leather cleaners can cloud Gold and Palladium plating.
The Protocol: Use low-tack painter's tape or cling film to wrap the "Plaque" (front
hardware), the "Touret" (turnlock), and the "Pontets" (metal bridges). This ensures you can scrub the
leather around the hardware without fear.
4.3 The Dry De-Dusting
This is the most satisfying step. Take your large horsehair brush. Brush the entire bag vigorously.
Why? Dust + Moisture = Mud. If you apply cleaner to a dusty bag, you are basically
rubbing mud into the pores. You must remove every dry particle first. Pay attention to the "ears" (the
side gussets) where dust collects in the folds.
5. Routine Maintenance: The Weekly Habits
You don't wash your face with a chemical peel every day. Similarly, you don't "clean" a Birkin with chemicals every week. Over-cleaning is the fastest way to ruin the finish. This routine is for maintenance"”preservation, not restoration.
5.1 The Monday Morning Brush
If you used the bag over the weekend, empty it on Monday morning. Take your large horsehair brush.
The Motion: Brush vigorously in the direction of the grain. For Togo, brush
downwards.
The Goal: You are removing pollens, city smog, and dead skin cells that settled on
the bag. If left, these mix with humidity to form a "gray film" that dulls the color over time.
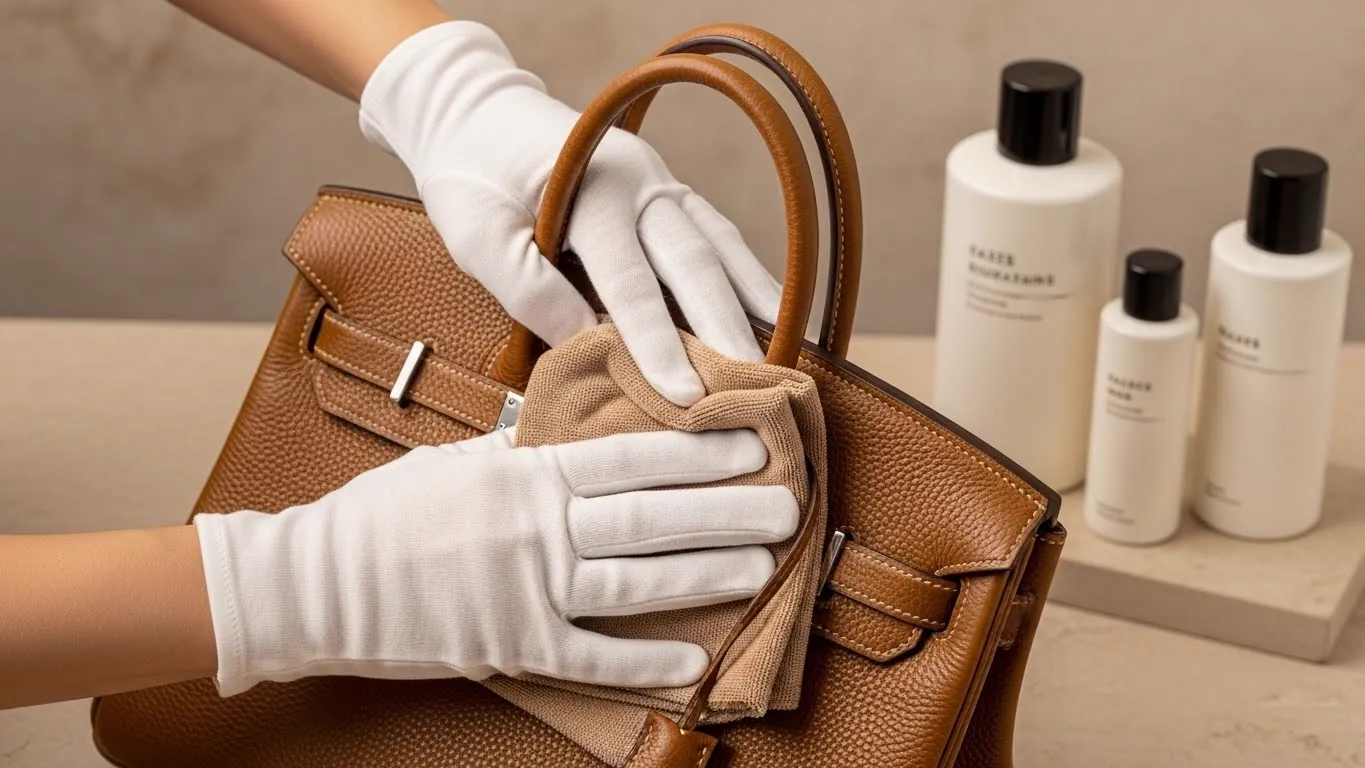
5.2 The Handle Wipe
The handles are the most vulnerable part of the bag. They absorb sweat, oils, and lotion from your hands.
This turns them dark (black) over time. This is called "handle rot."
The Fix: Every time you put the bag away, wipe the handles with a dry
cotton cloth to absorb surface oils. If you feel they are sticky, use a barely damp cloth (distilled
water only) to lift the sugar/salt from your sweat, then dry immediately.
6. Deep Cleaning Protocols: By Leather Type
Perform this "spa day" every 3-6 months. Always perform a patch test on the clochette (key holder) first.
6.1 Protocol A: Grained Leathers (Togo, Clemence, Fjord)
The Challenge: These leathers are porous sponges. You want to lift dirt out of the pebble grain without soaking the leather, which causes it to swell and stretch.
Step-by-Step:
- Foam Generation: Pump your cleaner (Collonil/Saphir) onto a sponge or brush. Squeeze it to create a stiff foam. Do not apply liquid to the bag.
- The Lift: Dab the foam onto the leather. Use your dauber brush to gently agitate the foam in circular motions inside the grain. You are trying to lift the dirt suspended in the bubbles.
- The Extraction: Before the foam dries, wipe it away with a clean, white microfiber cloth. Check the cloth. You should see gray dirt. If you see the color of the bag (e.g., orange on the cloth), STOP. You are stripping the dye.
- The Dry: Pat dry with a fresh towel. Leave the bag stuffed and standing in a cool, dark room for 24 hours. Do not use heat.
6.2 Protocol B: Rigid Leathers (Epsom, Courchevel)
The Challenge: Dirt sits on top of the pressed grain. Epsom is painted, so aggressive scrubbing removes the paint, revealing the gray leather underneath.
Step-by-Step:
- The Eraser Trick: For dark marks or scuffs on Epsom, start with your high-end white eraser. Gently rub the mark. 90% of "stains" on Epsom are just transfer on top of the coating. The eraser lifts them without wetting the leather.
- The Wipe: Mix a tiny drop of gentle leather soap into a bowl of distilled water. Dip your cloth, wring it out until it is almost dry. Wipe the bag in long, smooth strokes. Do not scrub in circles.
- Corner Caution: Avoid the corners. Epsom corners are notorious for "whitening" (color loss). Cleaning them accelerates this. If they are dirty, just dab them; do not rub.
6.3 Protocol C: Smooth Leathers (Box, Swift, Tadelakt)
The Challenge: Scratches. These leathers show every mark. Cleaning needs to be about lubrication, not abrasion.
Step-by-Step:
- No Water: Try to avoid water entirely. It spots Box calf.
- The Massage: Apply a tiny dot of Saphir Renovateur Nappa to your finger (gloved) or chamomile cloth. massage it into the leather in small circles. The oils will darken the leather temporarily. Do not panic.
- The Buffer: Let it sit for 10 minutes. Then, take a clean chamois and buff the leather vigorously. The friction generates heat, which helps the leather absorb the oils and redistributes the surface waxes to fill in light scratches. The shine will return.
7. Emergency Room: Specific Trauma Care
When disaster strikes, panic is your enemy. Here is your triage manual.
7.1 The "Hand Sanitizer" burn
The Issue: Alcohol destroys the topcoat of leather instantly. It leaves a dull, matte
spot or a white ring.
The Fix: Do strictly nothing. Do not try to wipe it; you will wipe away the melting
paint. Let it dry completely. Then, apply a heavy coat of conditioner to re-hydrate the area. If the
color is gone, you cannot bring it back. You need a professional to airbrush the color back on.
7.2 Ink Marks (Ballpoint)
The Fix:
On Box/Epsom: Use the white eraser immediately.
On Togo/Clemence/Swift: The ink sinks deep. Do not use home remedies like
hairspray or alcohol. You will turn a tiny line into a giant bald blotch. Send it to the pros. Ink
removal on porous leather requires surgical solvent application under a microscope.
7.3 Oil & Grease (Salad Dressing, Pizza)
The Fix: The Powder Method.
1. Blot excess with paper towel.
2. Cover with a mountain of cornstarch or baby powder.
3. Leave for 48 hours. The powder acts as a poultice.
4. Brush away. Repeat if the spot is still dark.
9. Hardware Care: The Jewelry of the Bag
The Sticker Sin: Removing the plastic is non-negotiable. Stickers trap humidity. This
causes "pitting""”tiny black holes in the metal that cannot be polished out. Remove stickers immediately
upon purchase.
Polishing: Use a jewelry cloth. Do not use liquid metal polish (like Brasso), as it
is abrasive and will eventually rub the gold plating off, revealing the base metal underneath.
11. Rain Rescue & Authenticity Checks
Rain is the most common enemy of the Birkin. But it also serves as a litmus test for quality.
The Raincoat Protocol: Every Birkin and Kelly comes with a plastic raincoat. Keep it in
the bag. If caught without it:
1. Shield with body.
2. Blot (don't wipe) with white cloth.
3. Air dry open. Does Clemence blister? Massage it back down.
12. The Hermès Spa vs. The Leather Restorators
Hermès After-Sales (Paris):
Pros: They are the gods. They have the original leather batches. They can replace handles
completely.
Cons: Wait time is 6-12 months. They are expensive. They will confiscate the bag if they
suspect it's fake. They often reject bags for cleaning if they deem them "too damaged."
Preserve Your Investment
From stain removal to edge resealing, trust your Hermès to artisans who understand its value.